Installing a smart lock can enhance the security, convenience, and accessibility of your home or business. Smart locks offer features such as keyless entry, remote access control, and integration with home automation systems. Here’s a guide to help you with Smart Lock Installation effectively:
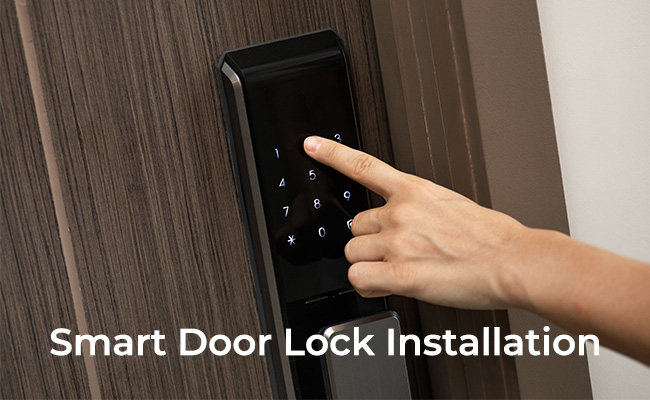
- Choose the Right Smart Lock: There are many types of smart locks available, including deadbolts, lever handles, and retrofit kits that convert existing locks into smart locks. Consider factors such as compatibility with your door type, connectivity options (e.g., Wi-Fi, Bluetooth, Z-Wave), and features (e.g., keypad entry, fingerprint recognition, voice control).
- Read the Installation Instructions: Before starting the installation process, carefully read the manufacturer’s installation instructions and user manual provided with the smart lock. Familiarize yourself with the components, tools required, and steps involved in the installation process.
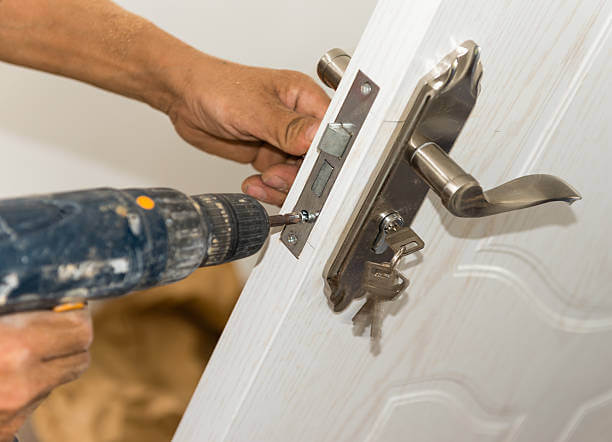
- Prepare the Door: Ensure that your door is properly prepared and compatible with the smart lock. Measure the thickness of the door and confirm that the existing lock is in good condition and functioning properly. Remove any existing hardware or debris from the door to facilitate the installation process.
- Install the Smart Lock Components: Follow the manufacturer’s instructions to install the various components of the smart lock, including the exterior keypad or touchpad, interior mounting plate, latch or deadbolt mechanism, strike plate, and any additional accessories or modules.
- Connect Power Source: Depending on the type of smart lock, you may need to connect a power source such as batteries or a wired power supply. Follow the manufacturer’s instructions to insert or connect the power source to the smart lock, ensuring a secure and reliable connection.
- Configure Connectivity: If the smart lock requires connectivity to a mobile app or home automation system, follow the instructions to configure the connection settings. This may involve downloading and installing a mobile app, pairing the smart lock with your smartphone or smart home hub, and setting up user accounts and permissions.
- Test Functionality: Once the smart lock is installed and configured, test its functionality to ensure that it operates correctly. Test keyless entry, remote access control, and any other features or functions provided by the smart lock. Verify that the lock securely locks and unlocks the door as intended.
- Set Up User Codes and Permissions: If the smart lock features keypad entry or user codes, set up personalized access codes for yourself, family members, and authorized users. Follow the manufacturer’s instructions to program user codes, assign permissions, and manage access settings as needed.
- Perform Regular Maintenance: After installing the smart lock, perform regular maintenance to ensure its continued operation and longevity. Clean the exterior keypad or touchpad regularly, replace batteries as needed, and update the firmware or software to the latest version to address any security vulnerabilities or performance issues.
- Consider Professional Installation: If you’re not comfortable installing the smart lock yourself or if you encounter any challenges during the installation process, consider hiring a professional locksmith or smart home installer to assist you. Professional installation can ensure that the smart lock is installed correctly and functions properly.
By following these steps and taking proper precautions, you can successfully install a smart lock and enjoy the added security, convenience, and peace of mind it provides for your home or business.